Staff Resources
Email Signature Generator
Create a consistent, branded signature for your Al Wisam School email.
Your details
Fields marked * are required.
Live preview
This is how your signature will appear.
Al Wisam | Your NameYour DesignationT: +973 1769 9595 EXT: 123 |
Setup Guide
Add your signature to Gmail
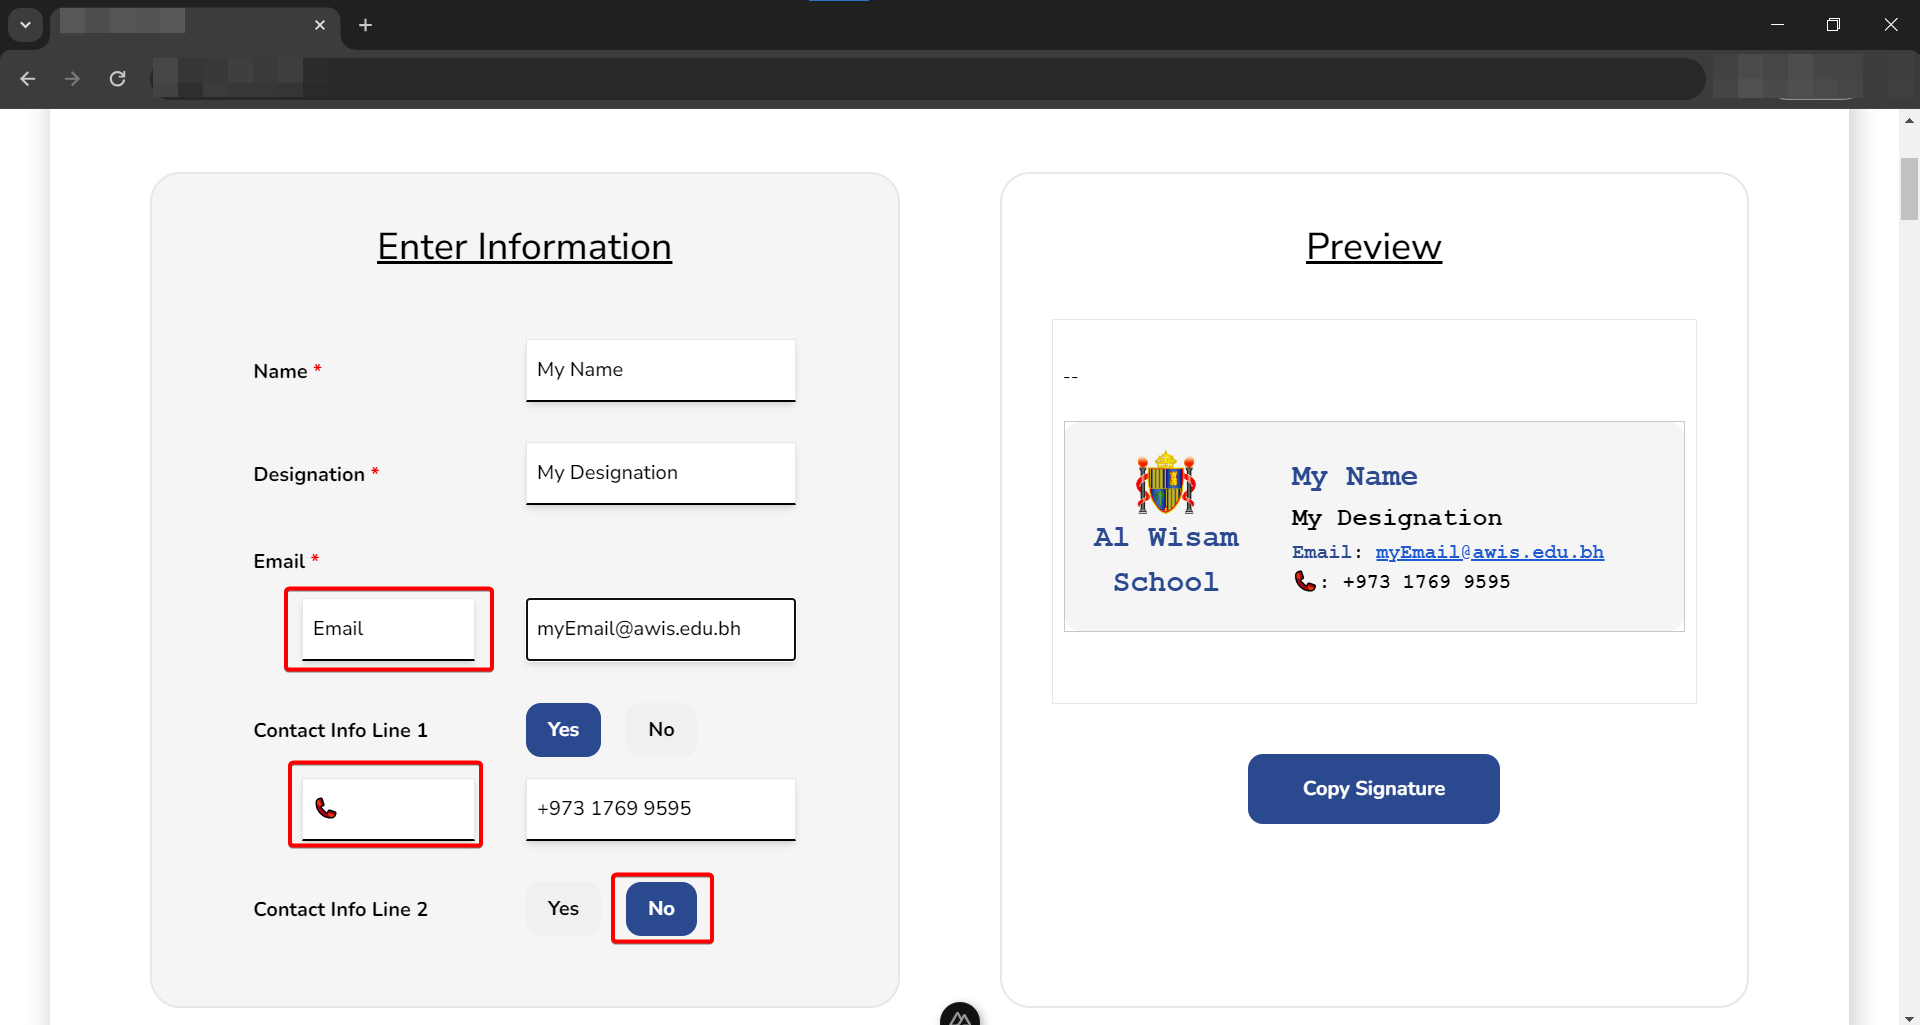
Enter Your Details
Enter your name, designation, email and contact info line 1 and 2. Note that you can customize the contact info line 1 and 2 to anything you would like or remove them completely.
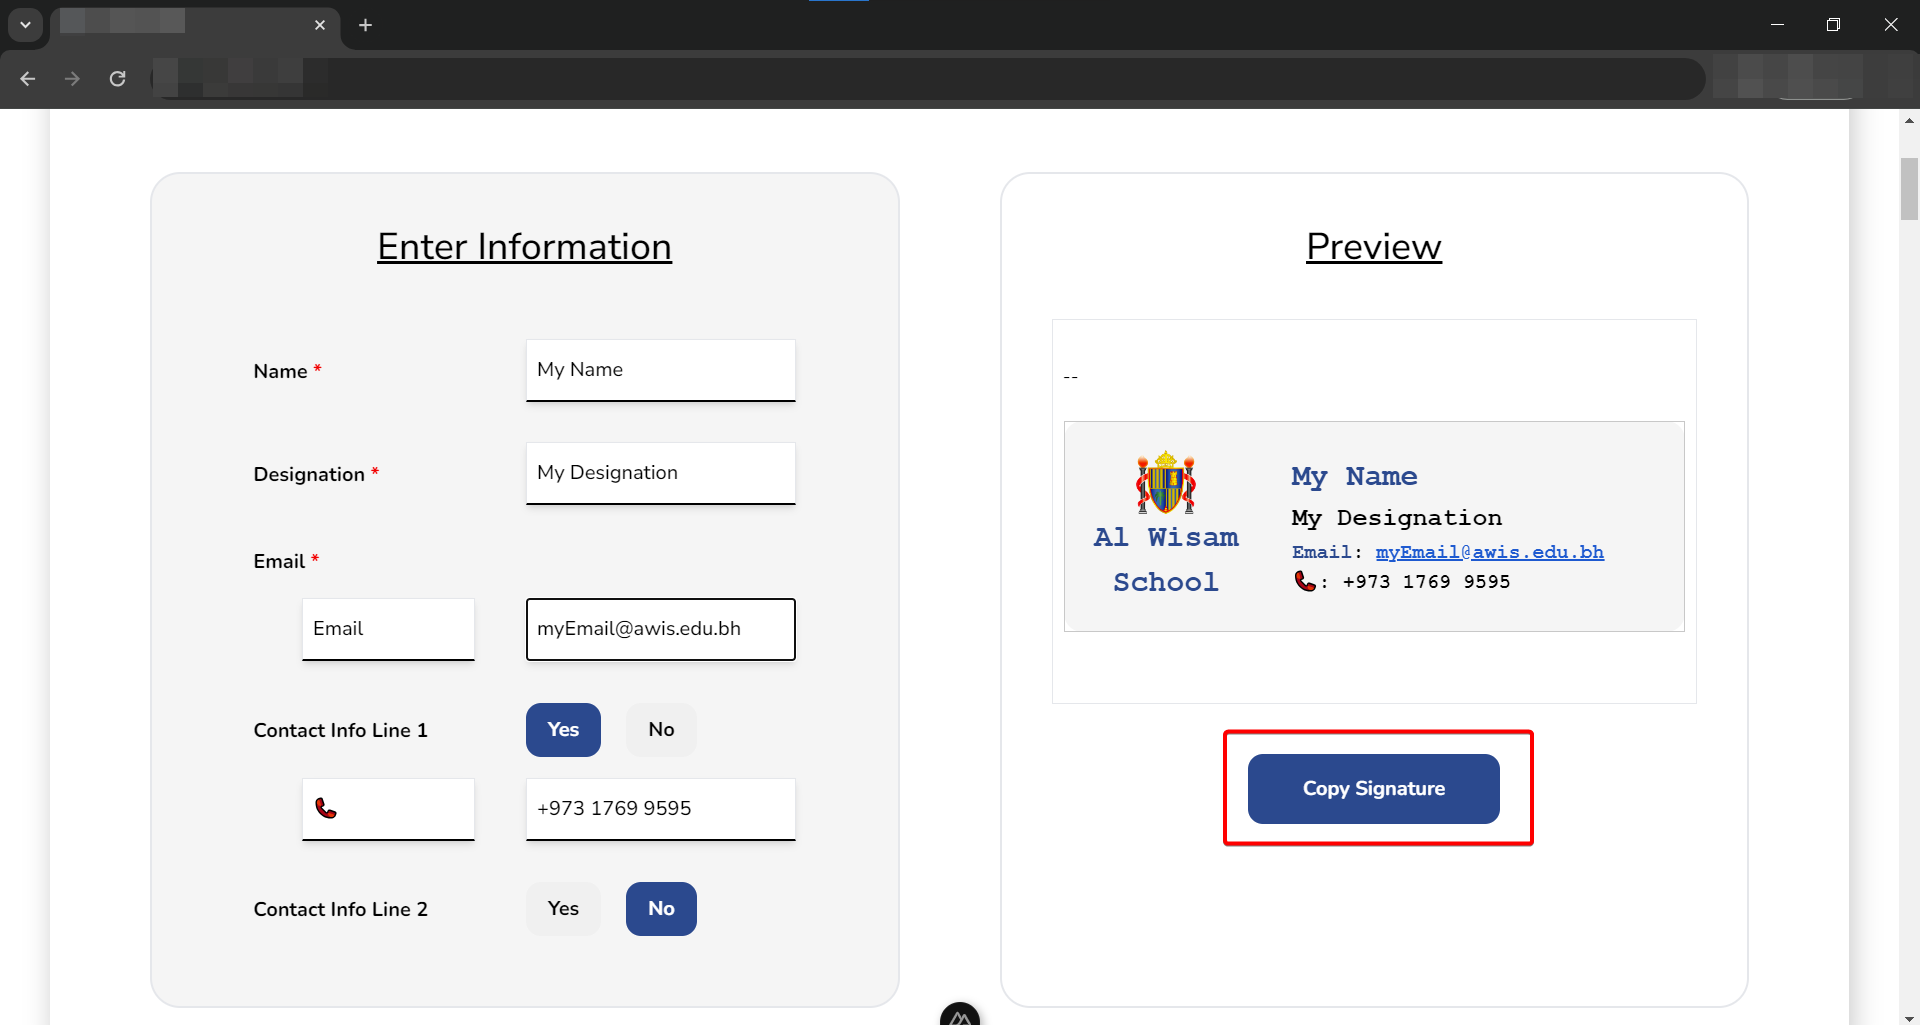
Copy Signature
Once you have completed customizing your signature, copy the signature by clicking on the "Copy Signature" button below the signature.
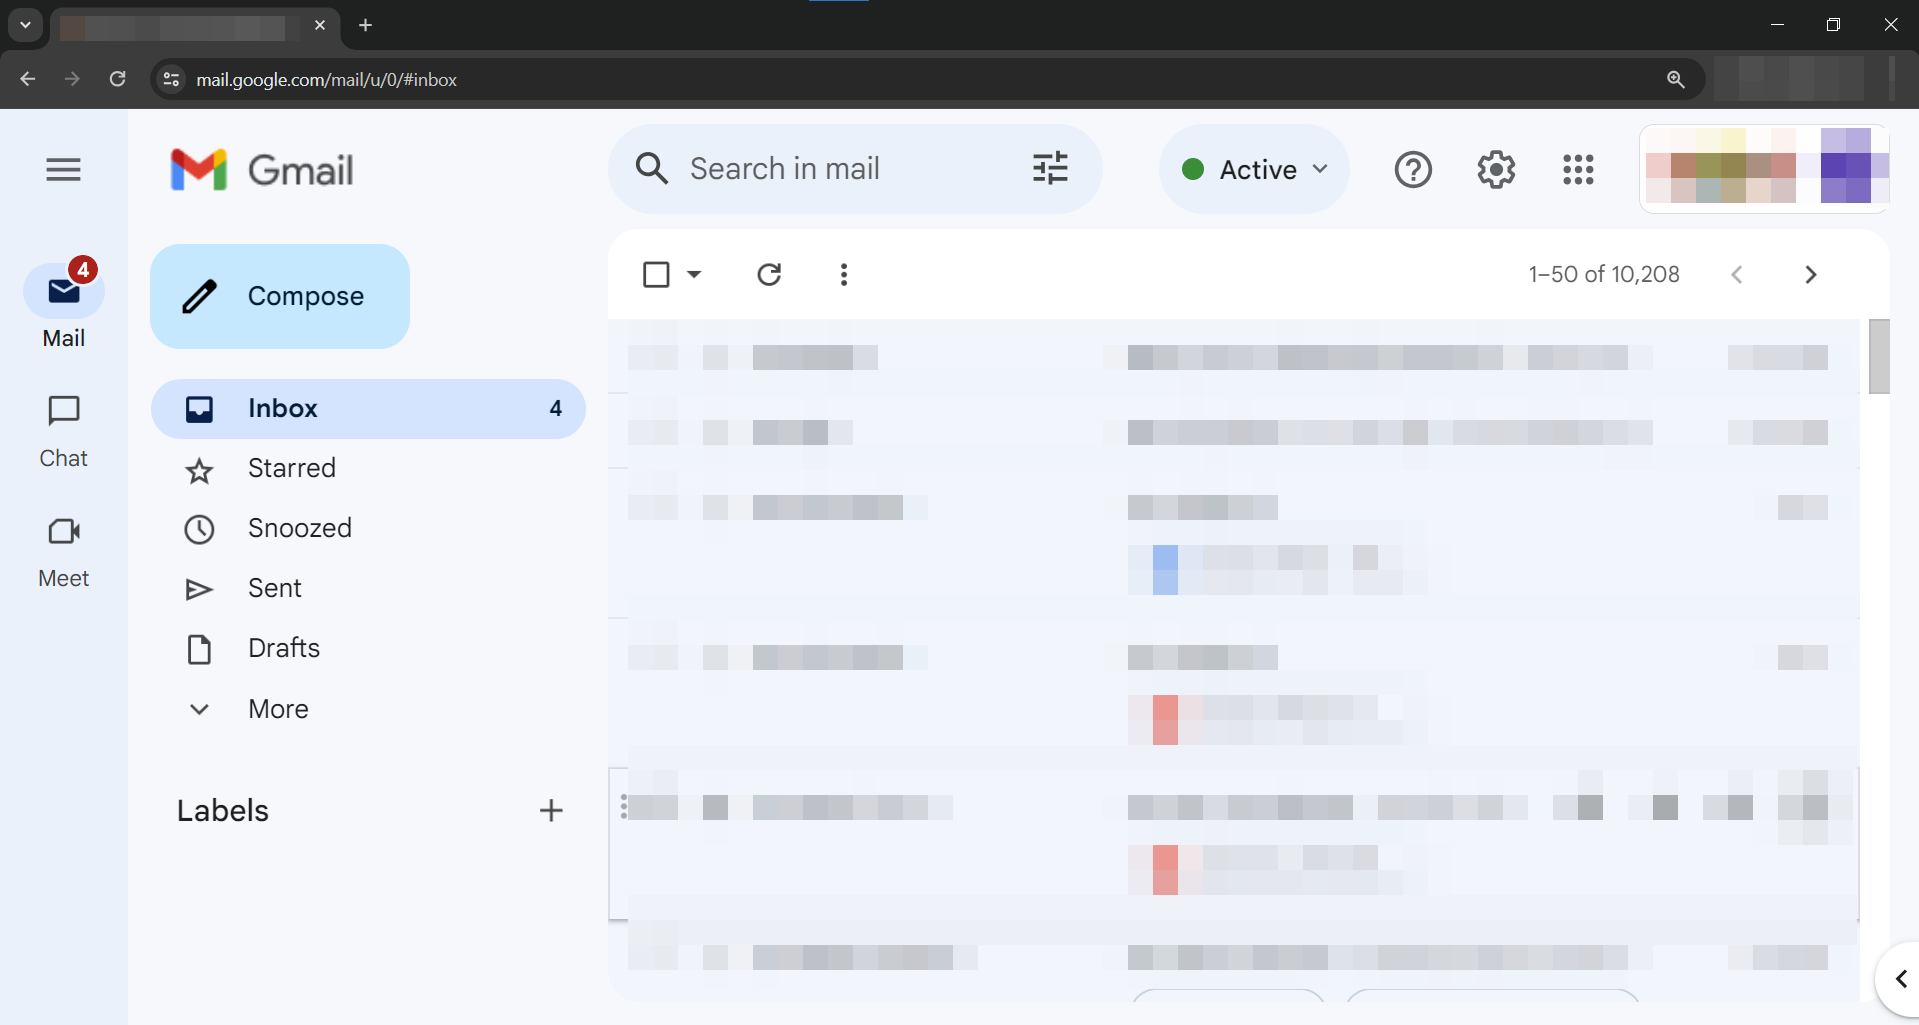
Go to Gmail
Open Gmail by going to gmail.com.
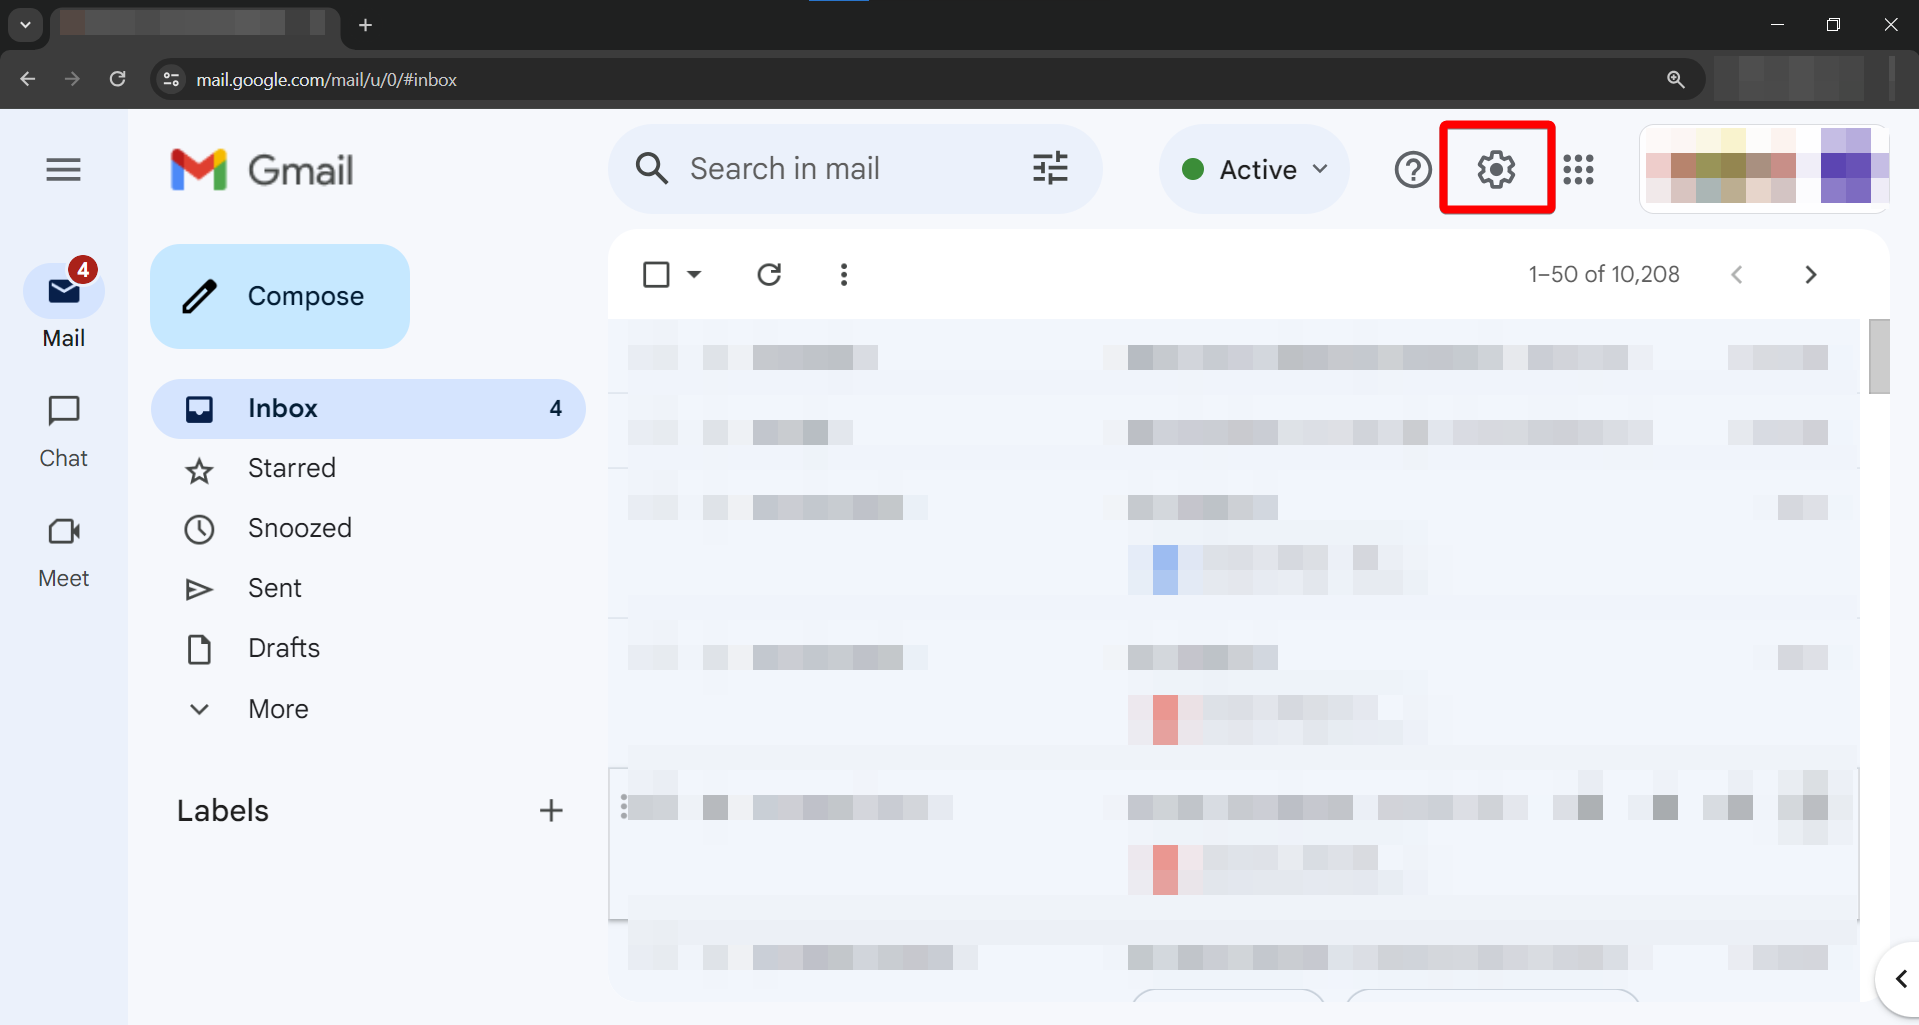
Naviagte to Settings Panel
Open the settings panel by clicking on the gear icon on the top right of the screen.
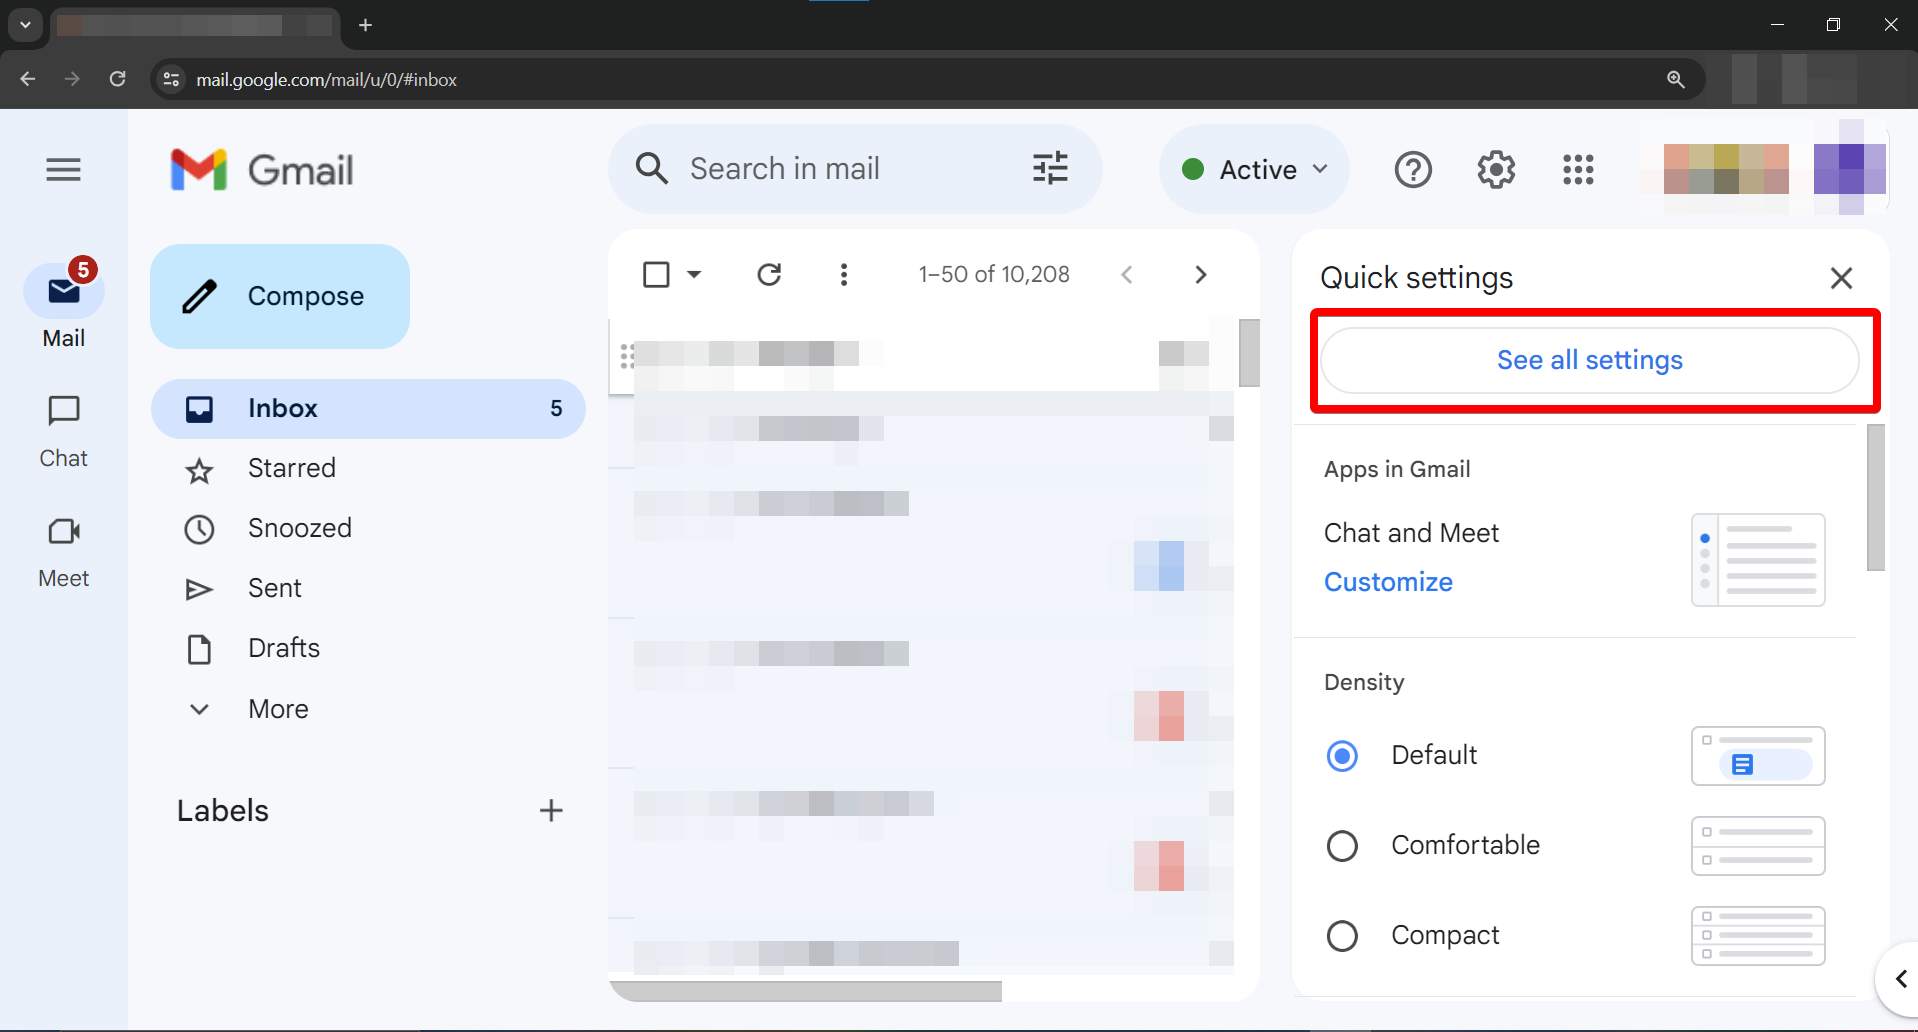
Open the Settings Page
Click on the "See all settings" button to open the settings page.
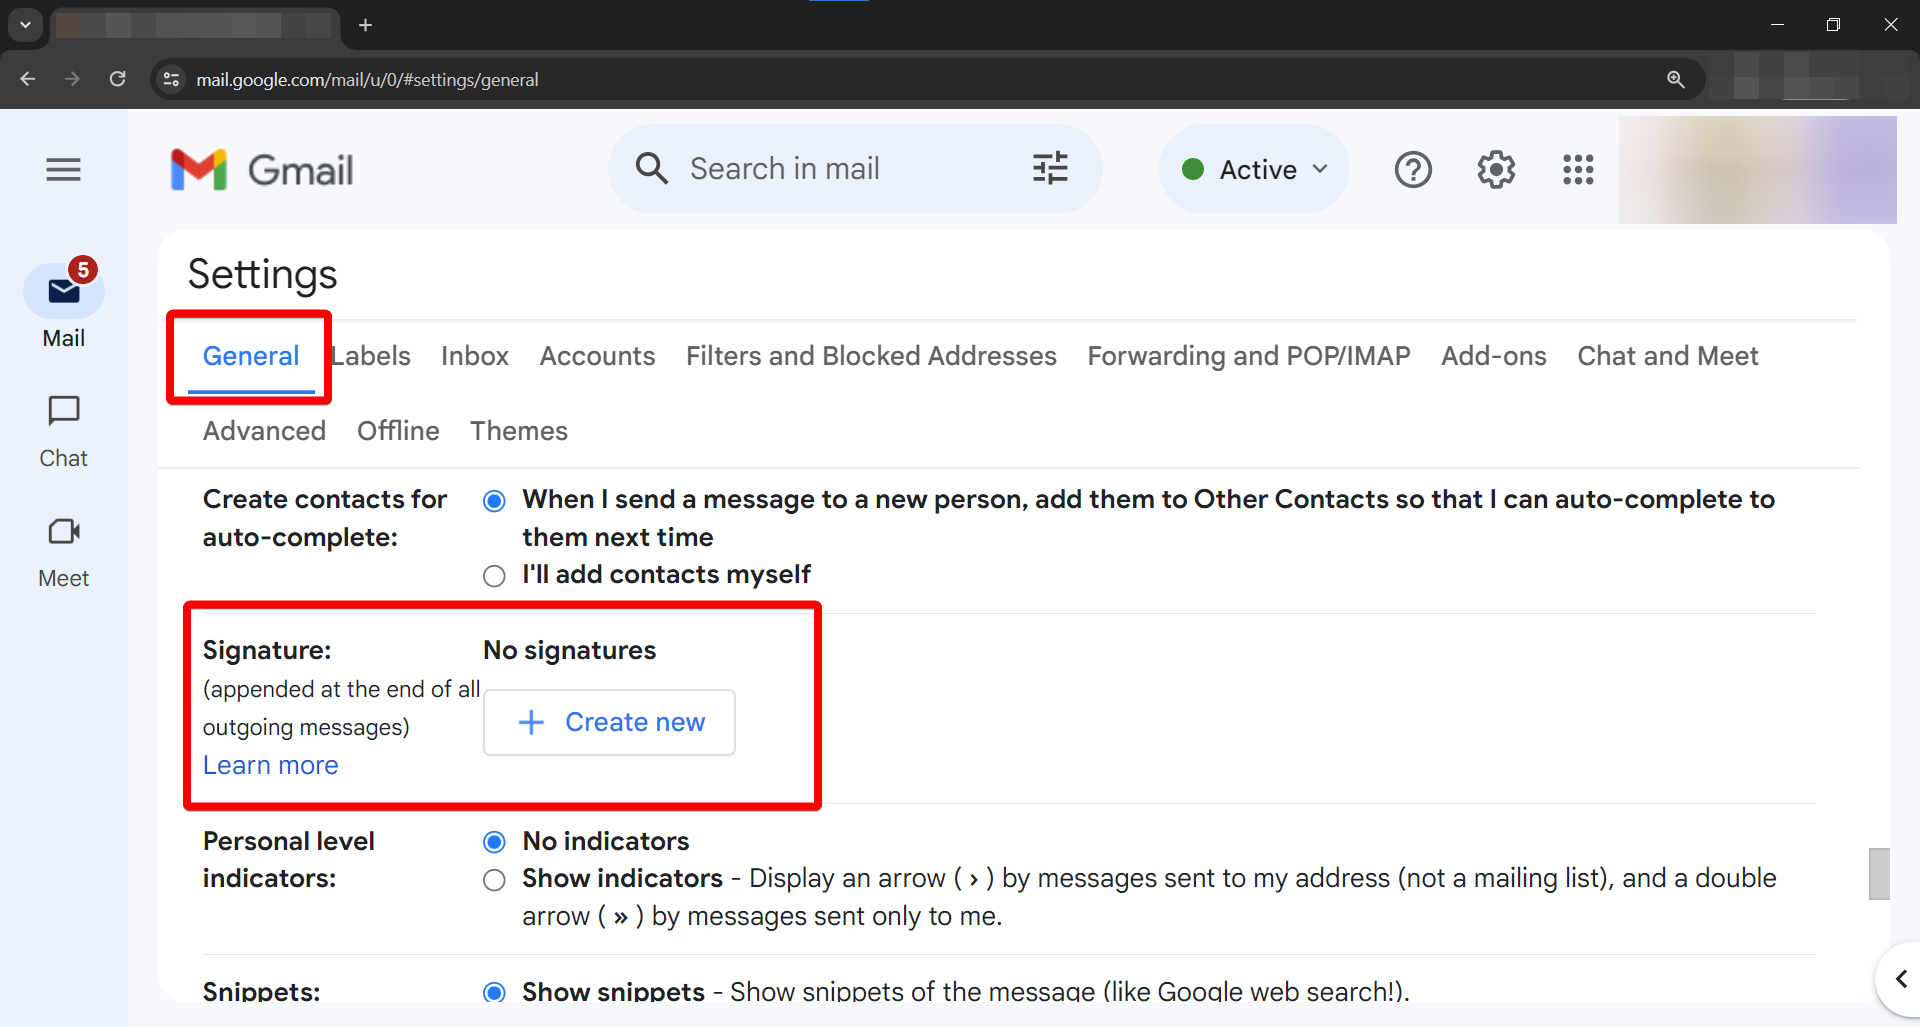
Naviagte to the Signature Section
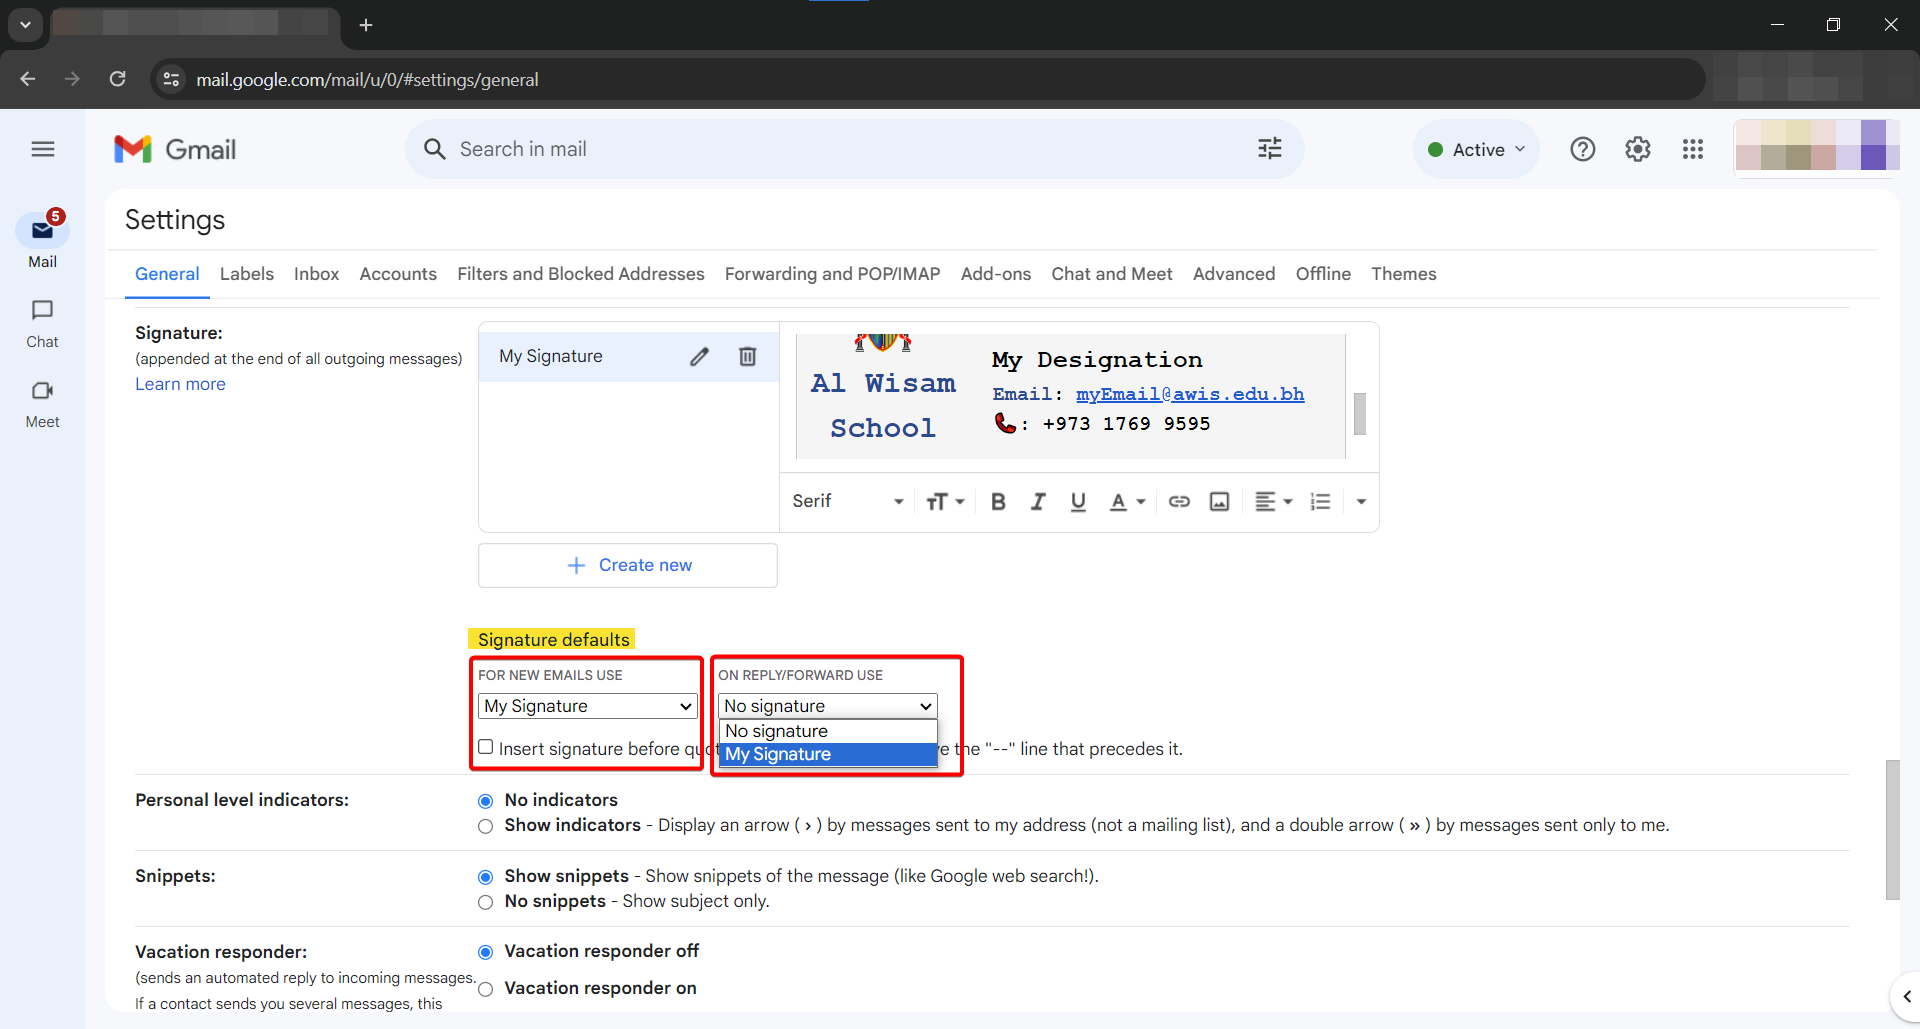
In the settings page, under the "General" tab, scroll down to the signature section.
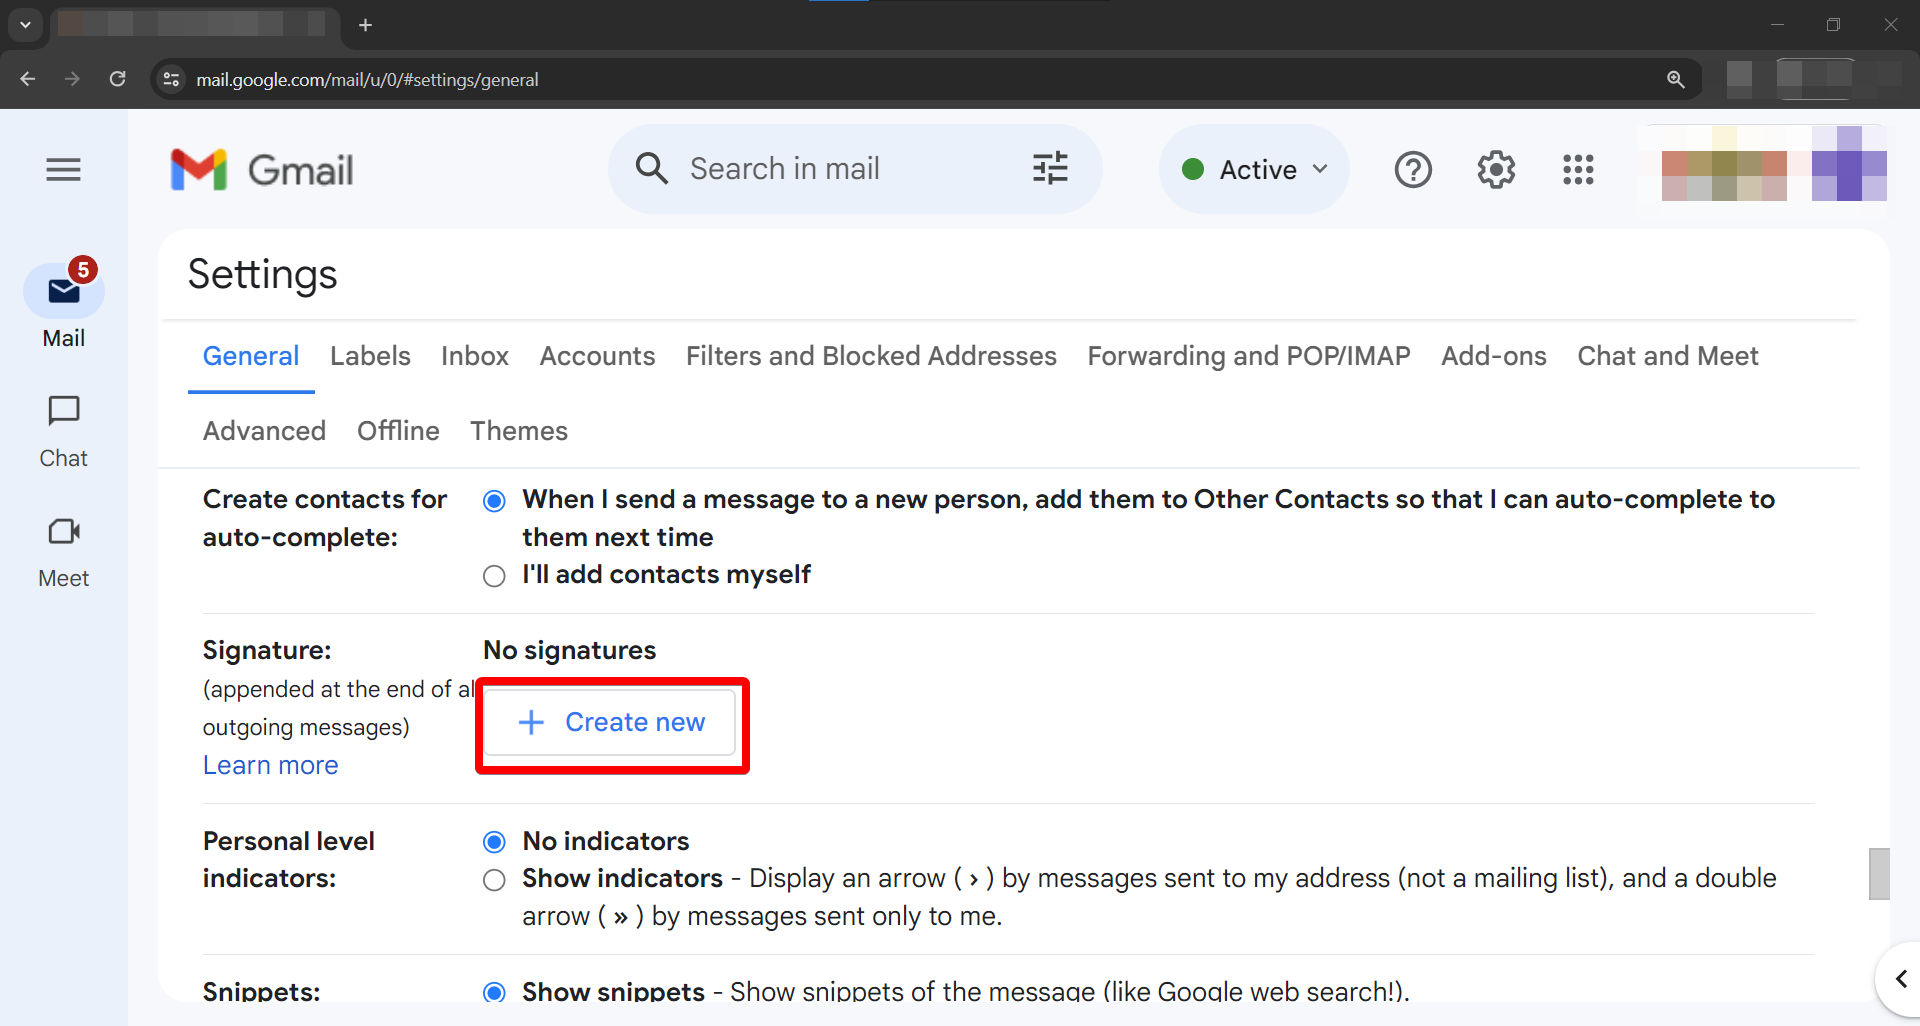
Add a new Signature
Click on the "Create New" button to create a new signature.
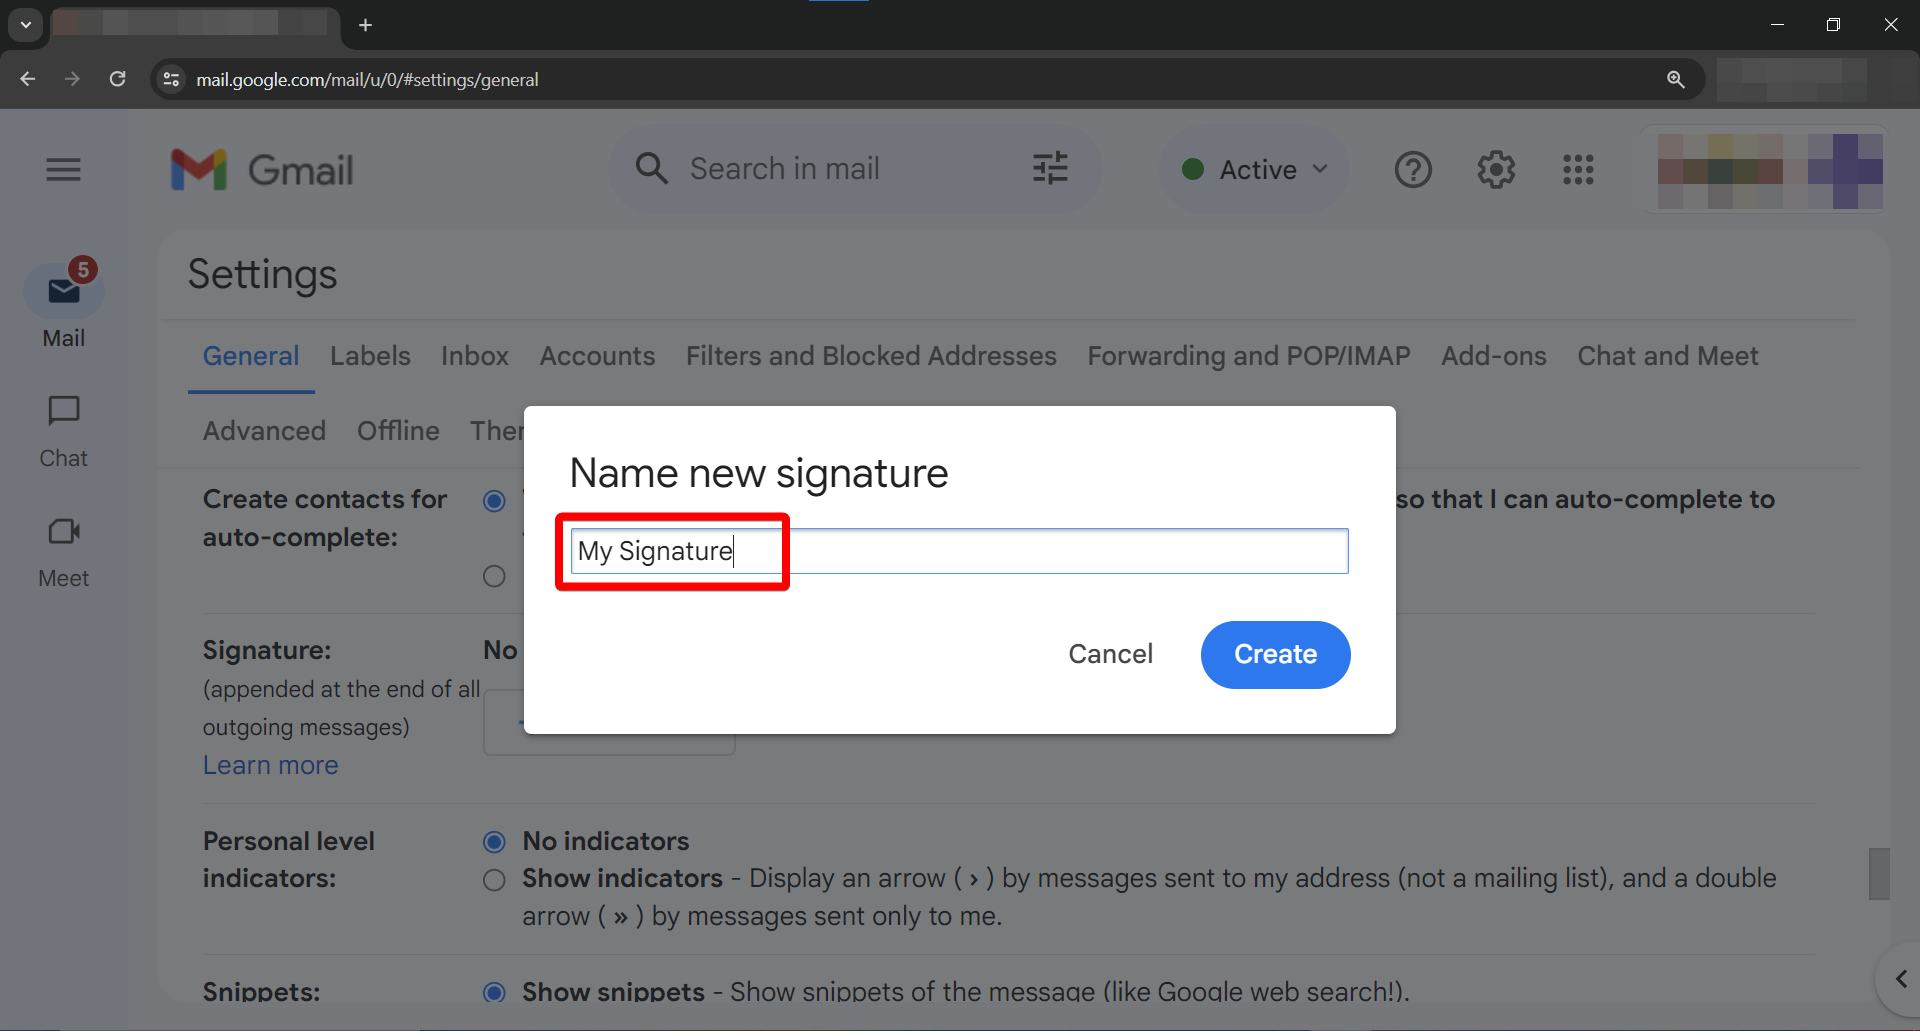
Create a name for the new Signature
Enter a name for the signature in the input box, e.g.: "My Signature".
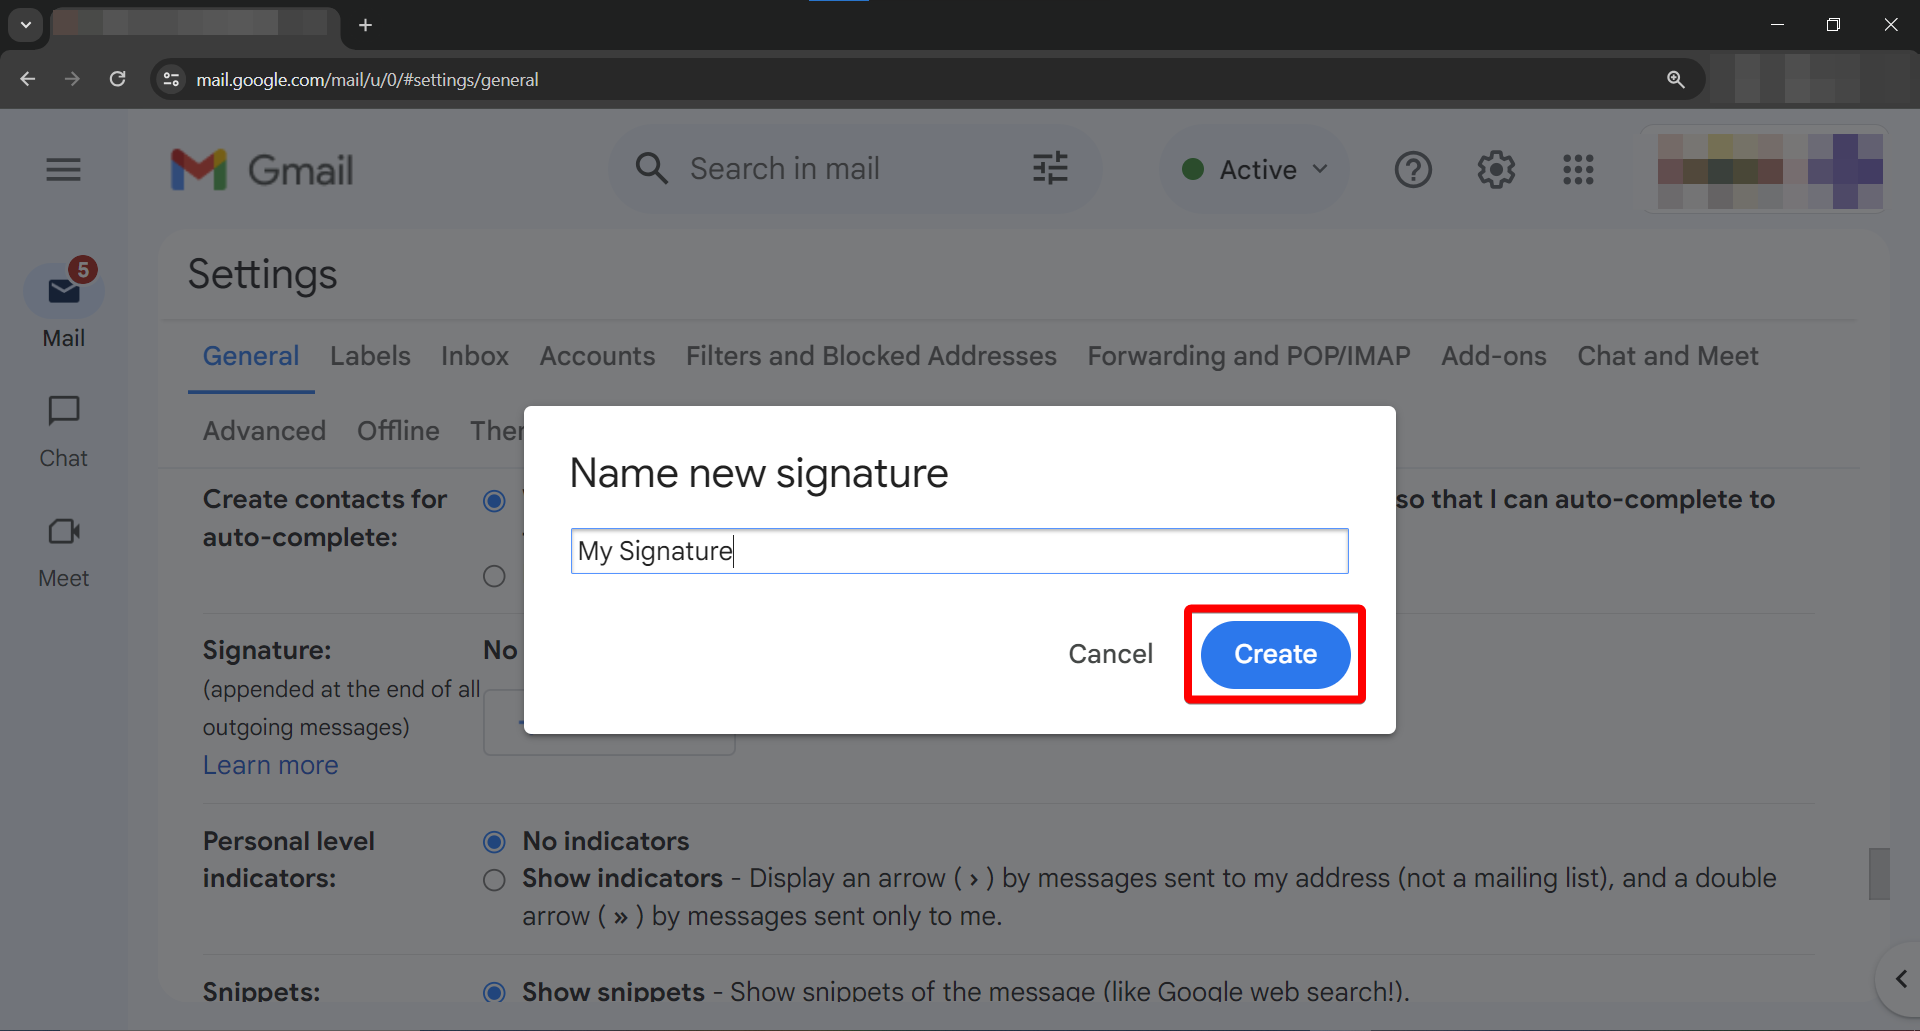
Save Signature Name
Once you have entered the name for the signature click on the "Create" button.
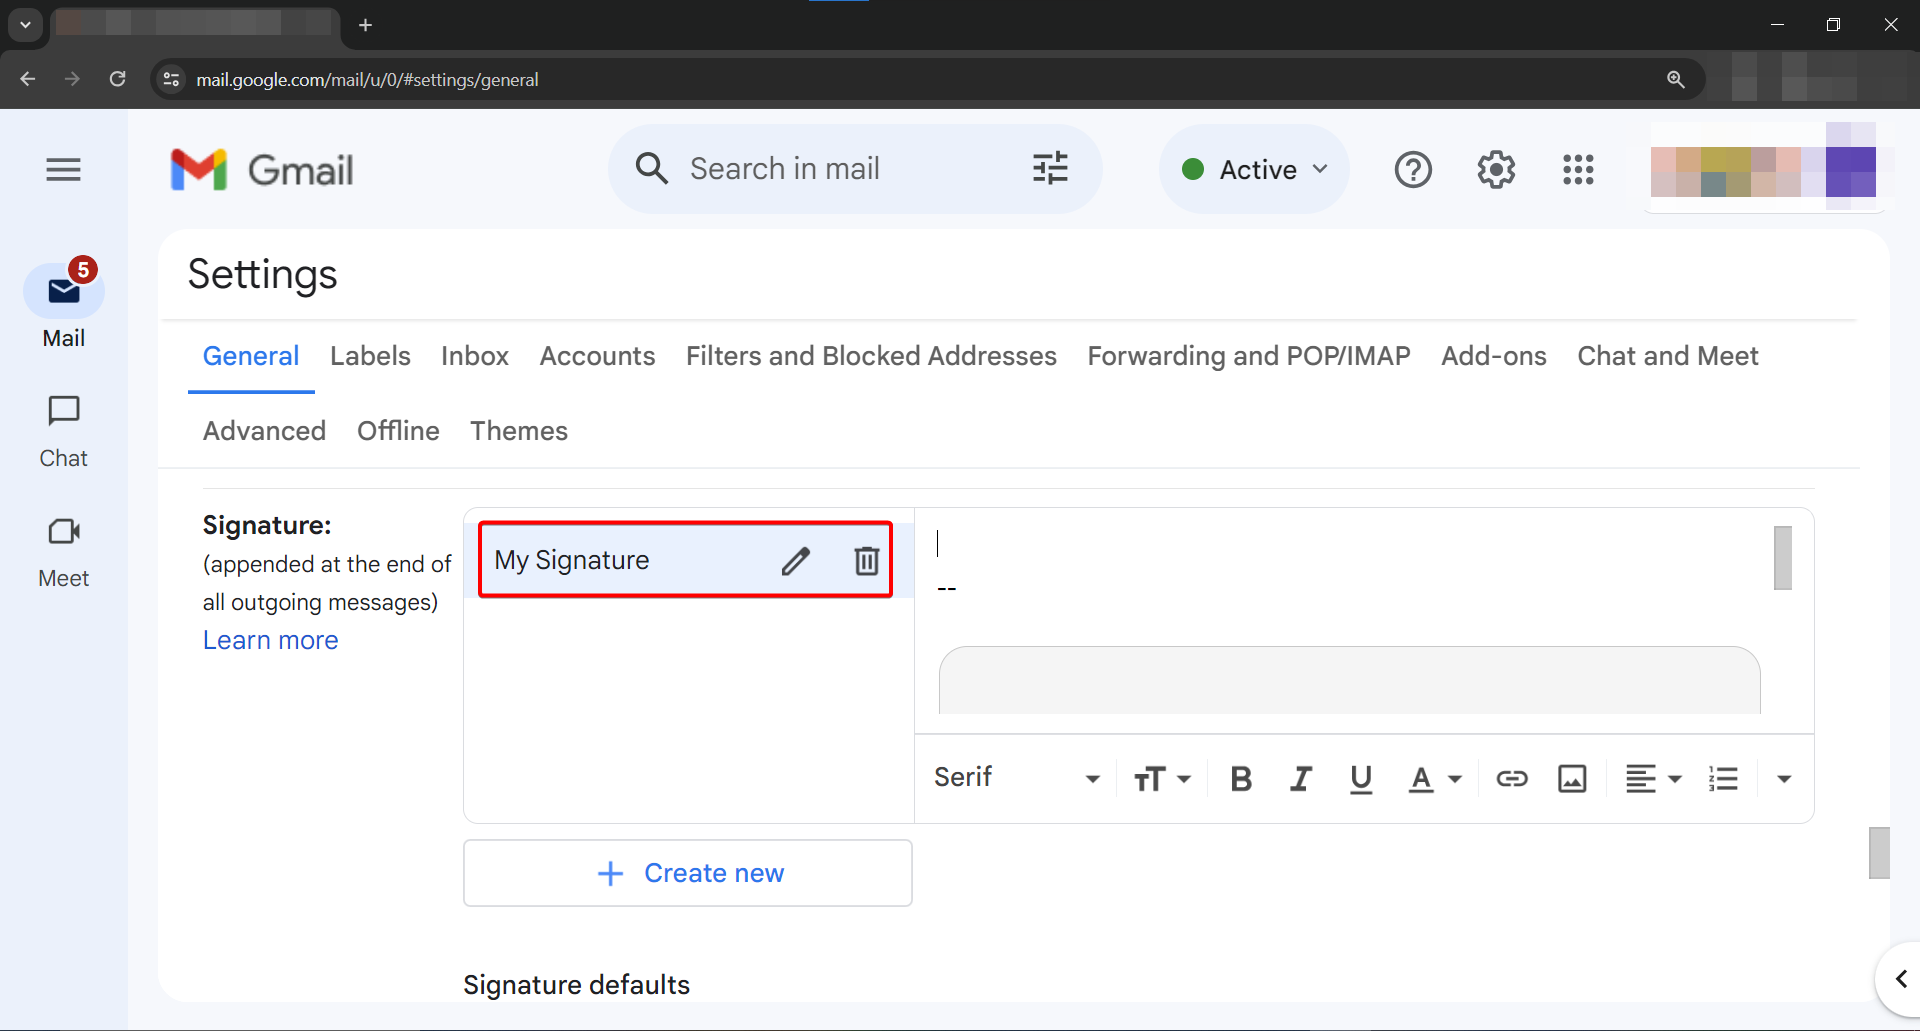
Select the new Signature
Ensure that the new signature is selected by click on it.
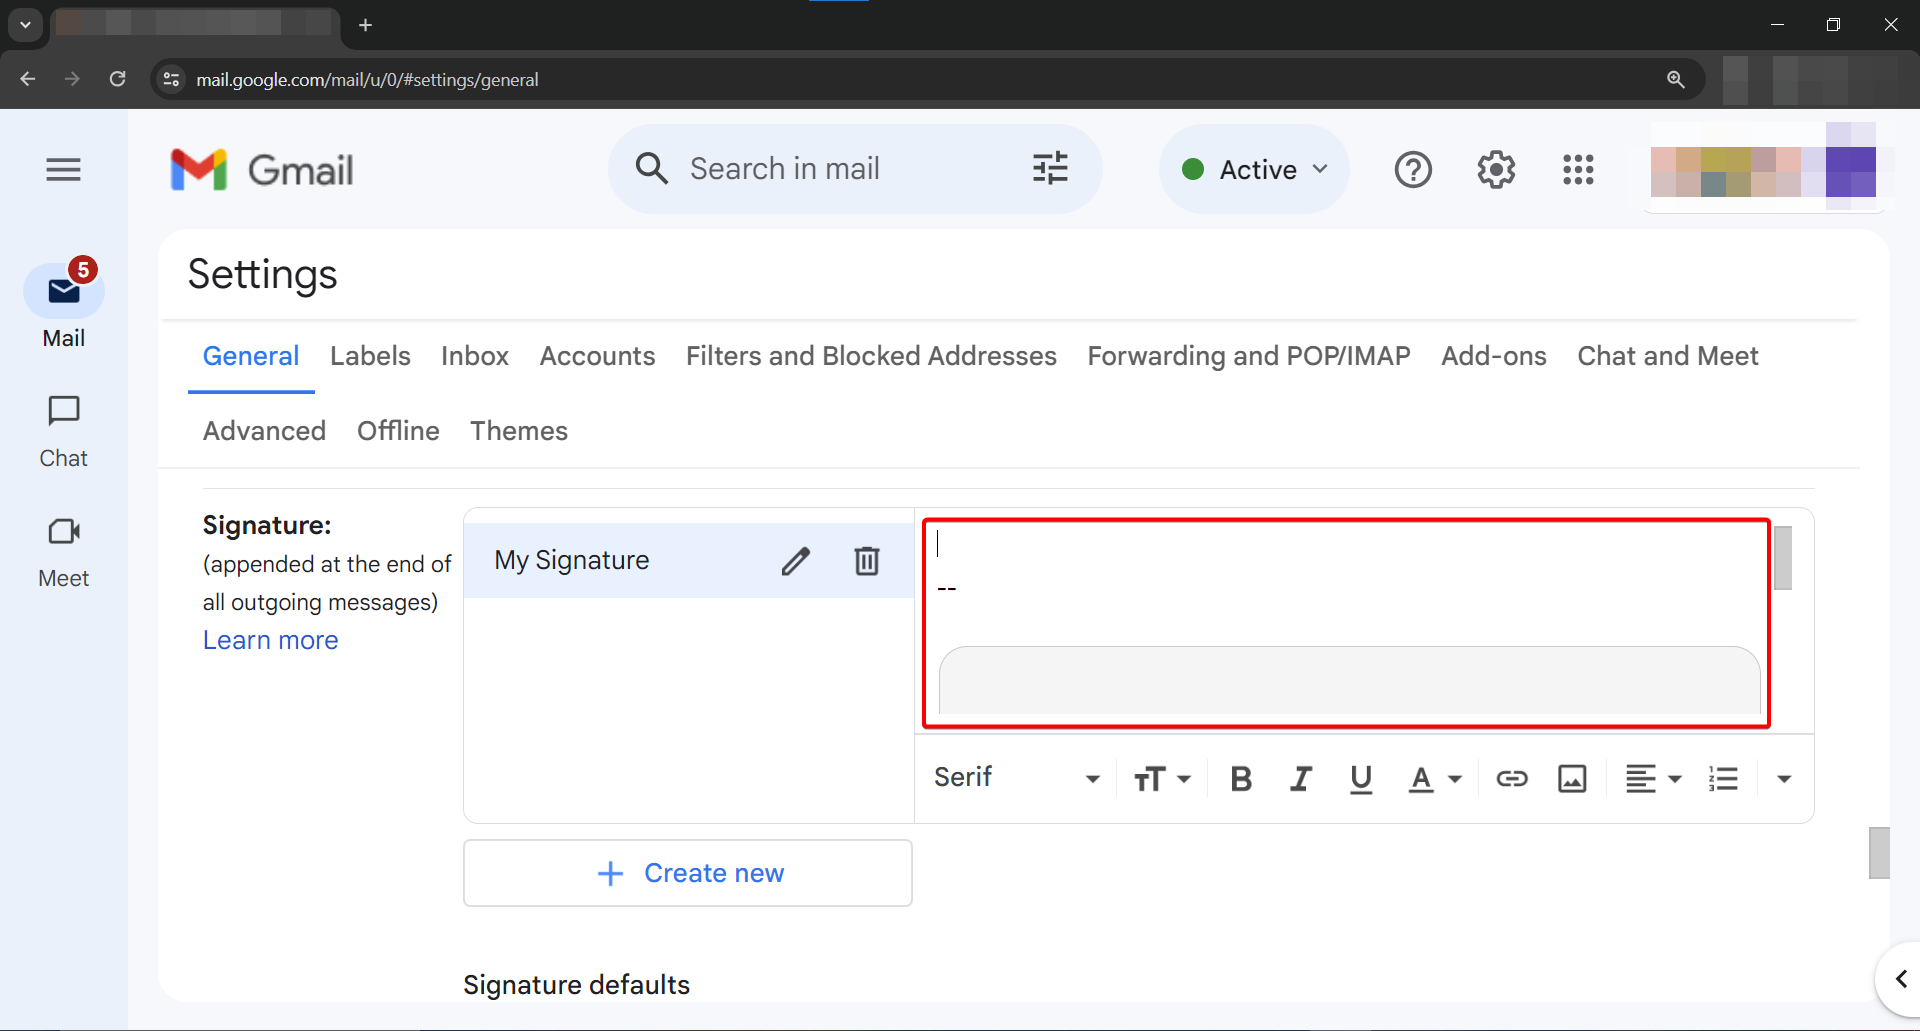
Paste the Signature
In the input box next the the signature name, paste the copied signature (ctrl + V).
Set as Default Signature
Under the "Signature defaults" heading, select your signature (e.g.: My Signature) for both "FOR NEW EMAILS USE" and "ON REPLY/FORWARD USE" drop down options.
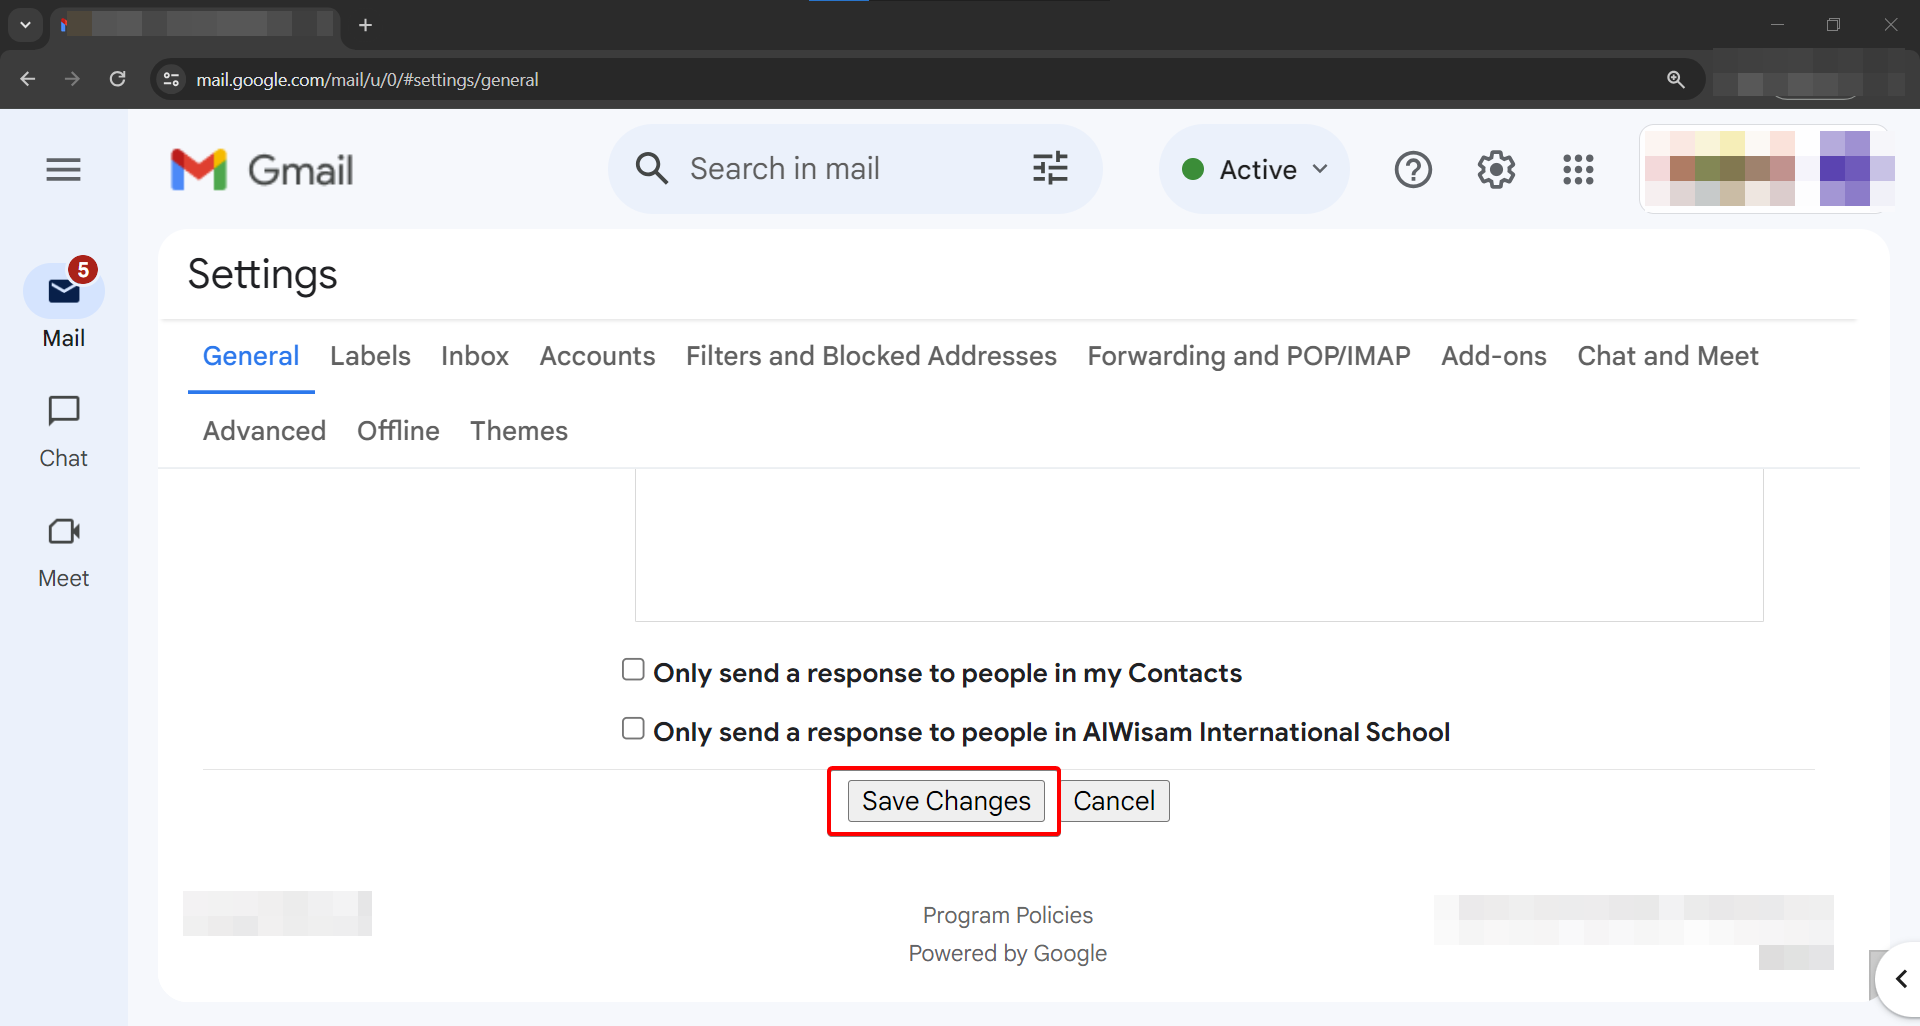
Save Signature
Scroll to the very bottom, and click on "Save Changes" to save the signature.